DIY Concrete Countertops: A Comprehensive Guide
DIY Concrete Countertops: A Comprehensive Guide
Are you looking to add a unique and stylish touch to your kitchen or bathroom? Concrete countertops offer a durable, customizable, and affordable alternative to traditional materials like granite or marble. Plus, creating your own concrete countertop can be a fun and rewarding DIY project. In this guide, we'll walk you through the process step by step, so you can achieve professional-looking results.

Why Choose Concrete Countertops?
Concrete countertops are gaining popularity for several reasons:
Customizability: Concrete can be molded into any shape, size, or thickness, making it perfect for custom designs.
Durability: Properly sealed concrete countertops are highly resistant to stains, scratches, and heat.
Aesthetics: Concrete can be colored, textured, and finished to match any decor style, from modern to rustic.
Cost-Effective: DIY concrete countertops can save you a significant amount of money compared to other high-end materials.
Materials and Tools You'll Need
Before you start, gather the necessary materials and tools:
Materials
Concrete mix (specifically designed for countertops)
Concrete pigment (if you want to add color)
Rebar or wire mesh
Concrete sealer
Mold release agent
Melamine or plywood for the mold
Caulk
Plastic sheeting
Foam insulation board (optional, for sink cutouts)
Sandpaper (various grits)
Water
Tools
Drill with mixing attachment
Trowel
Screed
Rubber mallet
Level
Orbital sander or polisher
Bucket
Concrete mixer (optional)
Tape measure
Utility knife
Step-by-Step Guide
1. Design and Plan
Start by designing your countertop. Measure the dimensions of your cabinets to determine the size of the countertop. Decide on the thickness and shape. If you want an integrated sink, plan the cutout as well.
2. Build the Mold
Construct the mold using melamine or plywood. Ensure the mold is sturdy and well-supported. Apply a mold release agent to the inside to prevent the concrete from sticking.
3. Reinforce the Mold
Place rebar or wire mesh inside the mold to reinforce the concrete. This step is crucial for preventing cracks and adding strength.
4. Mix the Concrete
Mix the concrete according to the manufacturer's instructions. If you're adding pigment, mix it in thoroughly to achieve an even color. The consistency should be like thick pancake batter.
5. Pour the Concrete
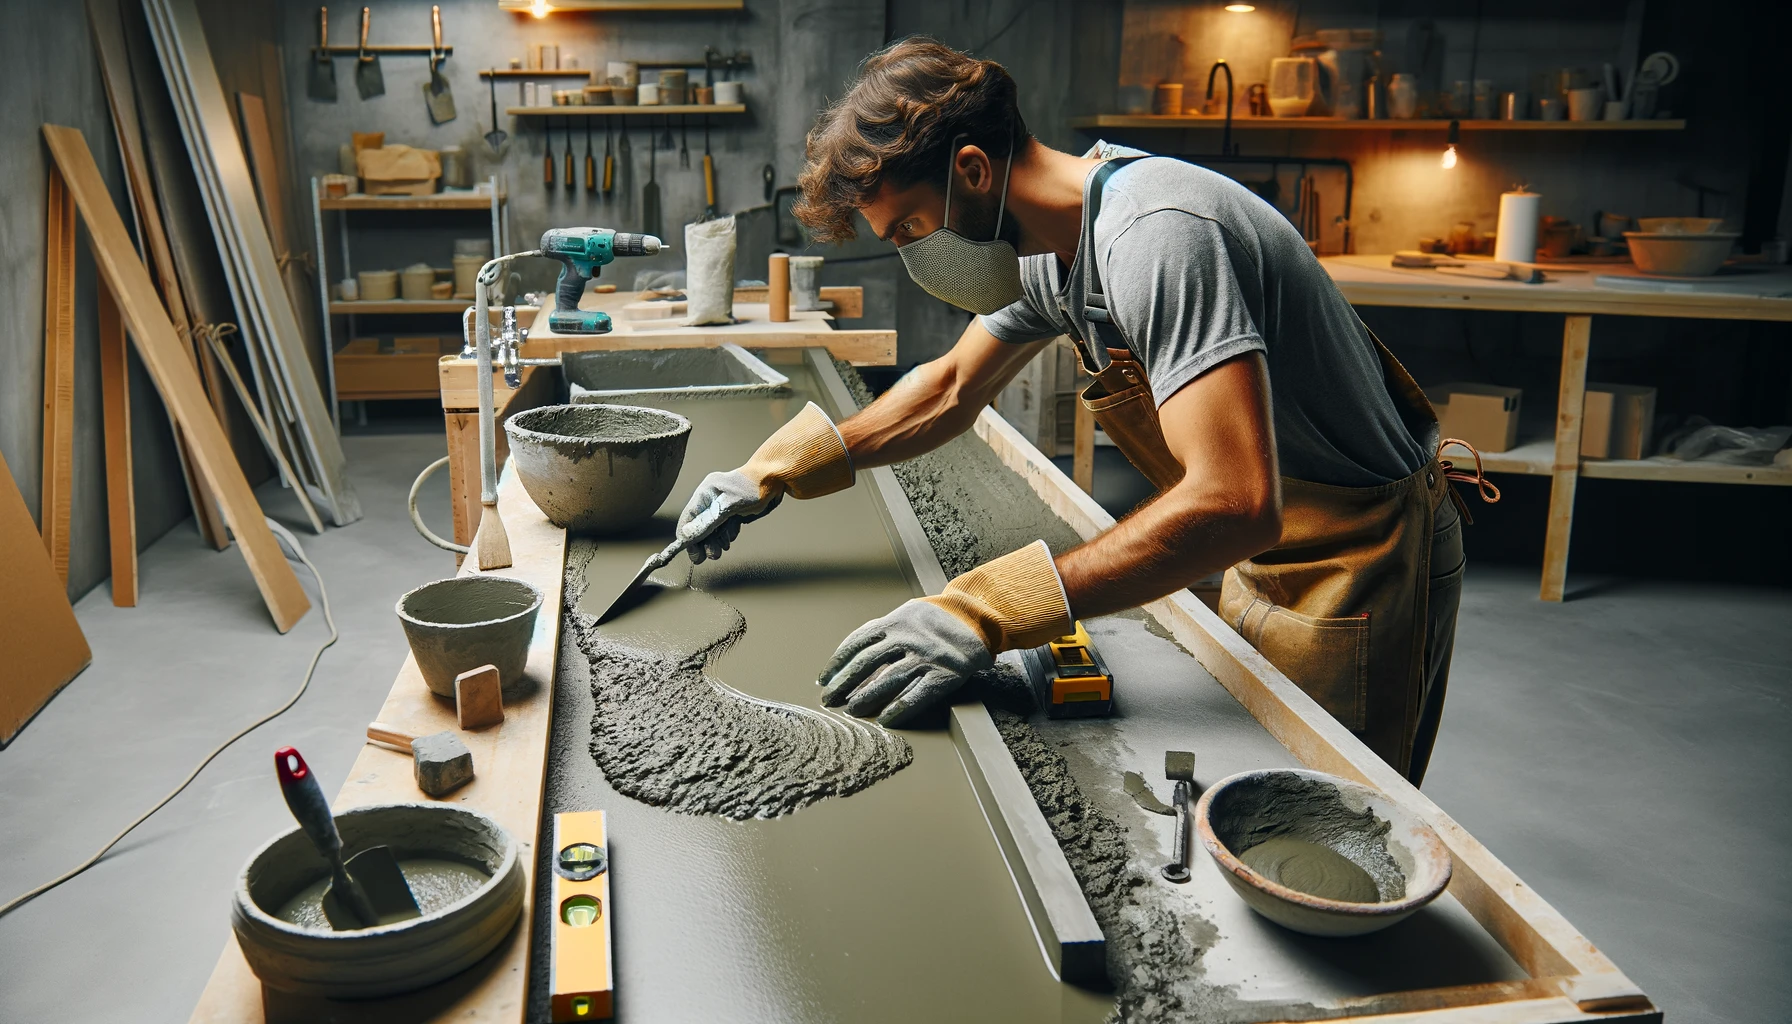
Pour the concrete into the mold, spreading it evenly. Use a trowel to smooth the surface and remove any air bubbles. Tap the sides of the mold with a rubber mallet to help the concrete settle.
6. Level and Cure
Use a screed to level the concrete, ensuring a flat surface. Cover the mold with plastic sheeting to retain moisture and allow the concrete to cure slowly. Let it cure for at least 48 hours.
7. Remove the Mold
Carefully remove the mold once the concrete has cured. Sand the edges and surface with progressively finer grits of sandpaper until smooth. If desired, use an orbital sander or polisher for a polished finish.
8. Seal the Countertop
Apply a concrete sealer to protect the surface from stains and damage. Follow the manufacturer's instructions for application and drying times.
9. Install the Countertop
Place the countertop onto your cabinets, ensuring it fits snugly. If you have a sink cutout, carefully lower the countertop over the sink area. Use silicone caulk to secure the edges and create a watertight seal.
Tips for Success
Practice Patience: Take your time at each step to ensure the best results.
Safety First: Wear protective gear, including gloves and a mask, when working with concrete.
Experiment with Finishes: Concrete can be finished in various ways, from matte to high gloss. Test different techniques on a small piece before finalizing your countertop.
Conclusion
Creating your own concrete countertop is a fantastic way to add a personal touch to your home while saving money. With the right materials, tools, and a bit of patience, you can achieve stunning, professional-looking results. Happy DIYing!
For more tips, tricks, and expert advice on all things concrete, visit NearbyConcreteContractors. Whether you're a seasoned DIYer or a beginner, we've got you covered.
